It’s another great tutorial to create iCloud logo in Adobe Illustrator.
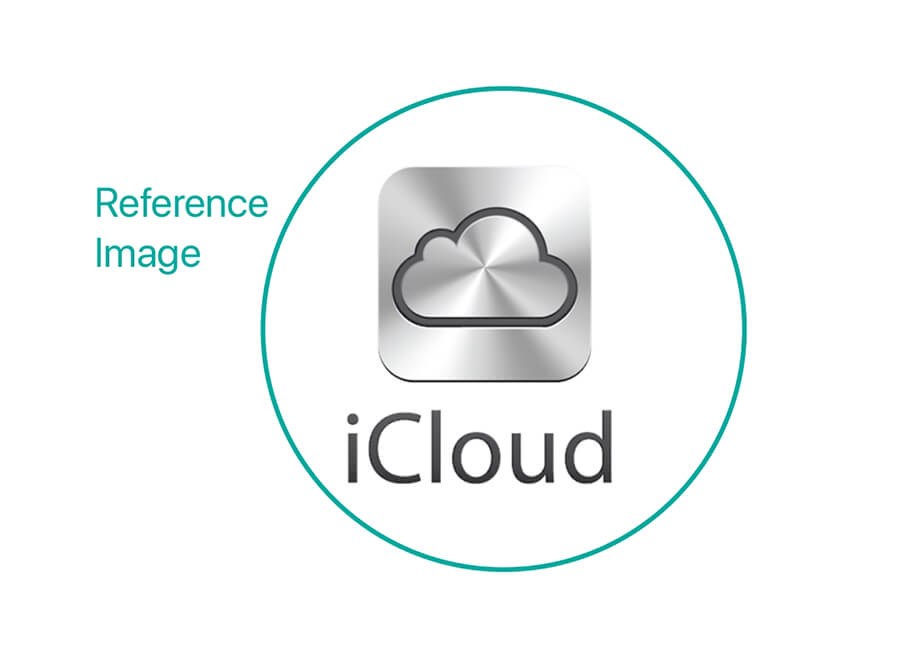
Hello Designers, today I’ll show you how to create iCloud logo in Adobe Illustrator easily with some simple steps. Before start, we need a reference logo image. You can do a search in Google for the logo image. After then I’ll make all shapes by pen tool. So, let’s start!

Making the Shapes
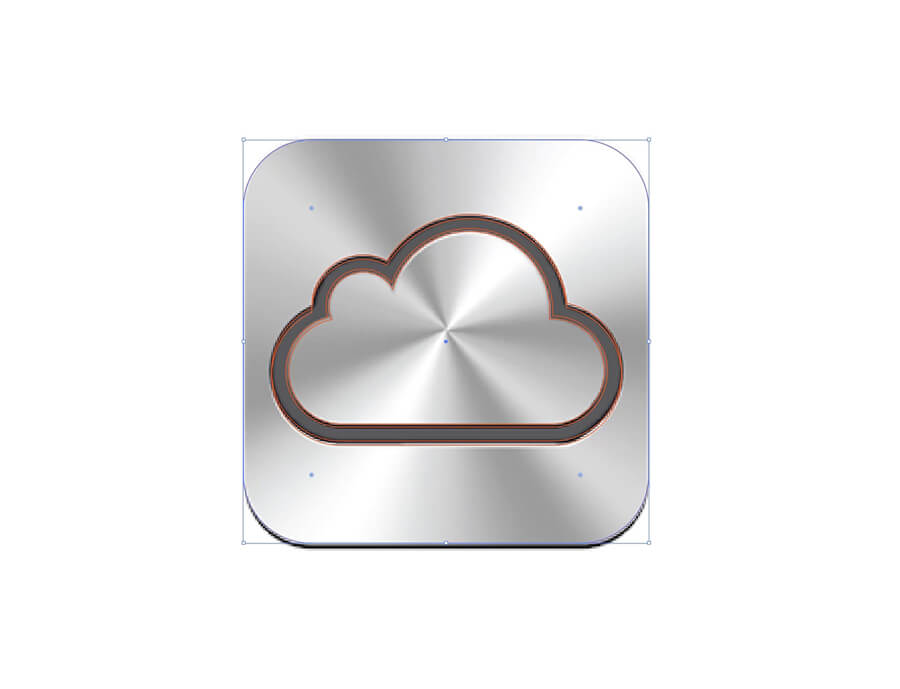
Select Pen Tool from Toolbars and path all shapes carefully. Use Ellipse Tool to make the cloud shape. This will make a perfect path for cloud icons. For iCloud name text, choose Myriad Pro Regular font and adjust the size.

Making the Gradient Shape
Make a rectangle shape width 170px and height 100px. Add gradient color and make the gradient a 90-degree angle. Make top swatch color R-153 G-153 B-153, and make bottom swatch color R-77 G-77 B-77. After then duplicate the gradient shape and change the RGB parameters. Make the top swatch R-242 G-242 B-242 and the bottom swatch color R-102 G-102 B-102.
Making the Gradient Slider
Now it’s time to make the important things for the iCloud logo which called Gradient Sliders to use as a cloud icon background. Make a rectangle by 170px x 40px and fill it with gradient swatch. Then make 13 sliders. To make the sliders just click on the bottom of the slider bar (You’ll see a ‘+’ symbol on your cursor). Here I made 13 sliders (But these are not accurate sliders like the iCloud original logo but approximately we can try to make it very similar).
Sliders:
- White (Location 0%)
- R-153 G-153 B-153 (Location 12.3753%)
- R-230 G-230 B-230 (Location 17.8447%)
- R-204 G-204 B-204 (Location 24.8603%)
- R-153 G-153 B-153 (Location 33.0055%)
- White (Location 42.3131%)
- R-179 G-179 B-179 (Location 50.1813%)
- R-153 G-153 B-153 (Location 56.2265%)
- White (Location 66.8774%)
- R-153 G-153 B-153 (Location 72.0548%)
- White (Location 76.7608%)
- R-153 G-153 B-153 (Location 84.725%)
- White (Location 100%)
Make a Circle
This is one of the most important parts of this logo, something technical. Make a circle by 300px x 300px and fill it with the default Black/White Radial Gradient. Now go to Object > Expand > Expand Gradient to Gradient Mesh > OK.
Then Ungroup and Release Clipping Mask. Then delete the outline.
Now, change the Envelope Options. To do that go to Object Menu and click on Envelope Distort > Envelope Options. Make Fidelity 50 to 100 and Check the ‘Distort Linear Gradient Fills’ and click OK.
Select Gradient Mesh and Gradient Slider by Shift Key then go to Object Menu > Envelope Distort > Make with Top Object (Alt+Ctrl+C). Now you can adjust the Gradient Sliders. To make this slider editable click on the top Control Bar ‘Edit Contents’.
Finalize the Logo
Now, Clipping Mask the Gradient Slider Mesh with cloud shape and cloud Square shape. To do that please see the video tutorial. After finishing the logo let’s do some work on the name text ‘iCloud’. Clipping Mask with the Dark Gradient (which was 170px and height 100px). Add some ‘Inner Glow on the text’. To do this Go to Effect Menu > Stylize > Inner Glow > Mode: Multiply, Color: Black, Opacity: 75%, Blur: 5 px, Edge > OK.
We are Done!

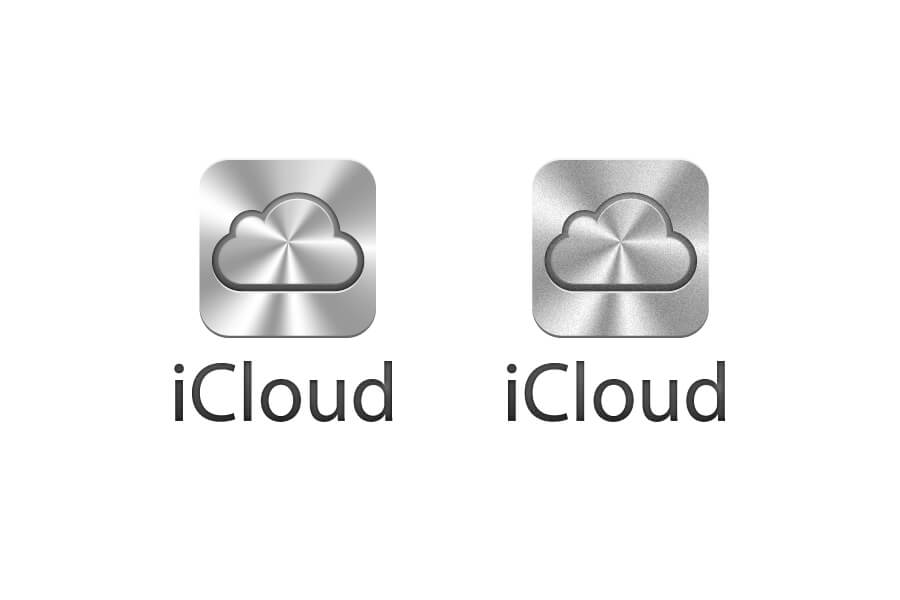
You can multiply some Film Grain effect texture on the logo to make it a grainy look.
That’s all for iCloud logo creation tips. Hope this will help you to understand the technic to made logos like this.
Please check the video tutorial about “How to create iCloud logo in Adobe Illustrator“. I hope this video will help you to create “iCloud logo” very quickly and easily.
If you like this tutorial just thumbs up in the tutorial video. Cheers!
